The VXDIAG VCX Nano is a diagnostic tool that is often used with Toyota Techstream software for vehicle diagnostics and programming. Here are general steps to install VXDIAG VCX Nano with Toyota Techstream
Install Techstream Software
Obtain the Toyota Techstream software installation package. This is usually available on the official Toyota Techstream website or through authorized distributors.
We can download Techstream all version software on our website:
Run the Techstream installer and follow the on-screen instructions to install the software on your computer.
Connect VXDIAG VCX Nano:
Connect the VXDIAG VCX Nano device to your computer using the provided USB cable.
Ensure that the device is powered on.
Install VX Manager
Download and install the VX Manager software from the official VXDIAG website. This software manages the communication between your computer and the VXDIAG VCX Nano device.
We can download here:
Install VXDIAG driver:
OS: Windows7, WIN8, WIN10
Year: 2022
Date of update: 02.2022
The procedure will be the same on other versions. Here we set it up on Windows 10 64bit system.
Step 1: Install Setup and Framework
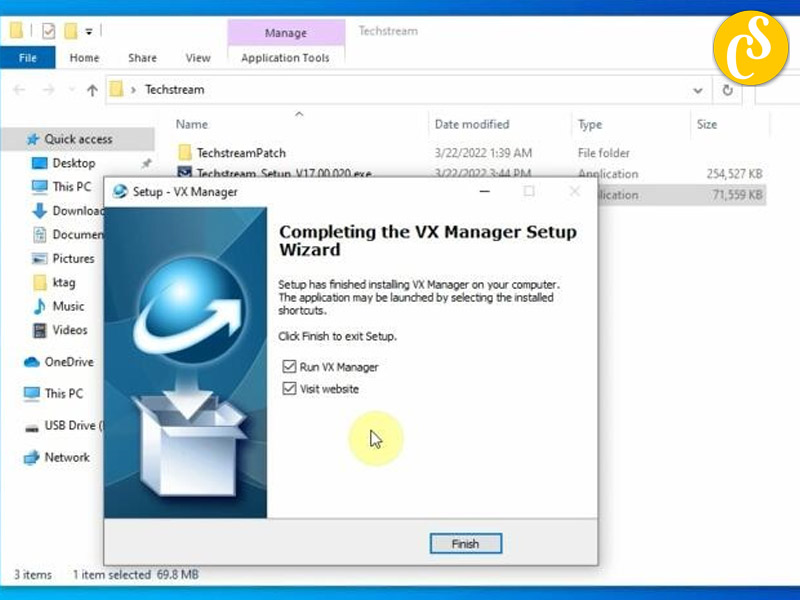
Step 2: Install VX Manager
Step 3: Run patch
Step 4: Run software
Run Latest version VX Manager
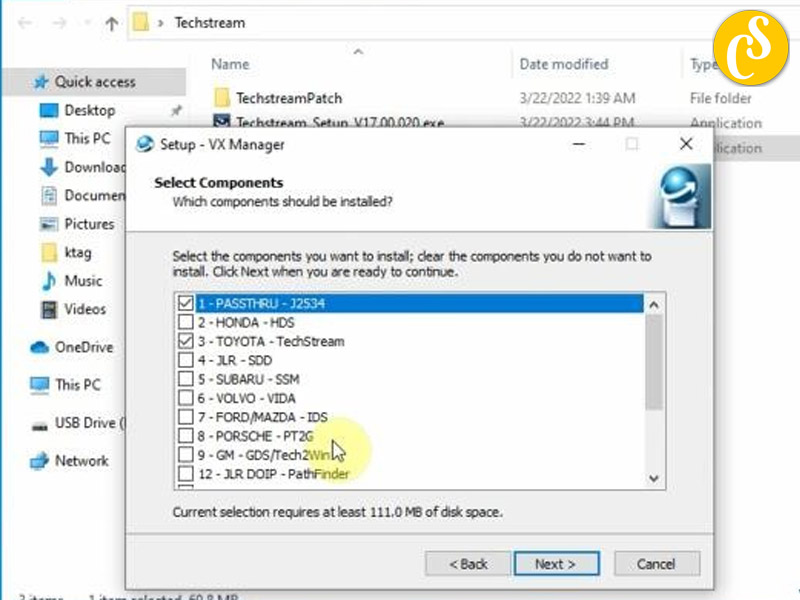
Install Passthru and Toyota techstream driver
Run VX Manager, make sure well connection is built and drivers are installed.
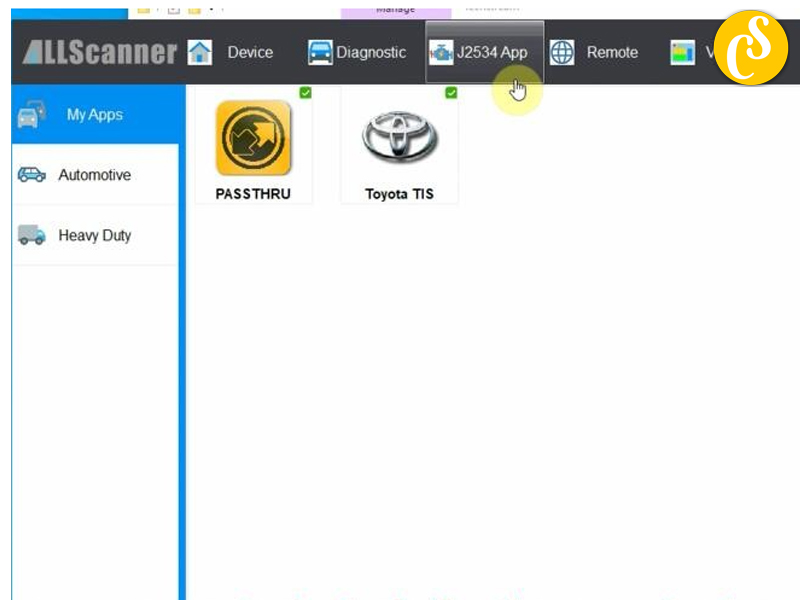
Configure VX Manager:
In VX Manager, select the VXDIAG VCX Nano device.
Configure the communication settings, such as the connection type (USB) and any other relevant settings.
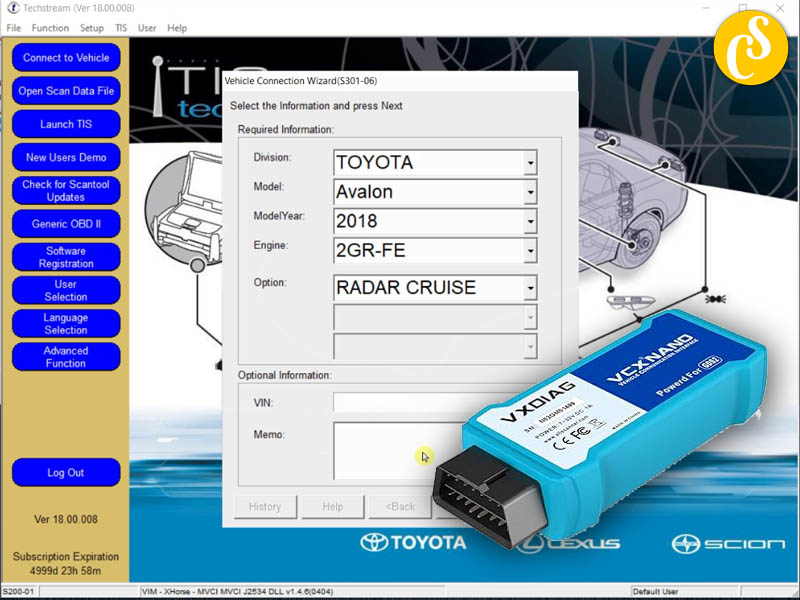
Launch Techstream:
Open the Techstream software on your computer.
When prompted, select the appropriate VXDIAG VCX Nano device as the communication interface.
Complete Software Setup:
Follow any additional on-screen instructions within the Techstream software to complete the setup.
Register and activate the software if required.
Connect to the Vehicle:
Connect the VXDIAG VCX Nano device to your vehicle using the appropriate cables.
Turn on the vehicle’s ignition.
Perform Diagnostics
Once the connection is established, you can use the Techstream software to perform diagnostics, read error codes, and perform other vehicle-related tasks.
It’s essential to follow the specific instructions provided with your VXDIAG VCX Nano device and the Toyota Techstream software. Keep in mind that software and firmware updates may be released periodically, so it’s a good idea to check for updates regularly to ensure optimal performance. If you encounter any issues during the installation process, refer to the user manuals or contact the manufacturer’s support for assistance.
Related Posts:
Free Download Toyota TIS Techstream V18.00.008 (02.2023)
Free Download Toyota TIS Techstream All Version
How To Install Mini VCI J2534 Techstream on Windows 10 11 64bit
How To Install Mongoose Pro MFC Cable For Toyota Techstream V18
How To Install VXDIAG VCX NANO Toyota Techstream V18
CARSOFTZ – Your Diagnostic Journey, Our Software Excellence
- Website: Carsoftz.com
- Youtube: Carsoftz Official
- Fanpage: Carsoftz
Whatsapp: +84.977.889.159| Open: 8:00 – 22:00 (GTM +7)